Disassembling the carburetor on an ATV is one of the most important tasks that you need to perform. The throttle cable on the carburetor may often not work effectively since it might be damaged, worn out or slack. You will need to tighten it or change it. Today we show you how to remove the throttle cable from ATV carburetor.
Your ATV carburetor is connected to your throttle cable, which controls how much fuel you inject when riding. In simple terms, the throttle cable connects the handlebar to the engine. It controls the engine’s responsiveness and can be used when making turns or changing speeds.
There are many reasons why people would want to remove their throttle cables from an ATV carburetor, but sometimes they find it hard to do. In this article, we will show you how to easily remove the throttle cable from your ATV carburetor to save on the cash of visiting a mechanic.
What is a Throttle Cable in ATV
A throttle cable is a mechanism for controlling the movement of the throttle on an ATV. The cable connects to the handlebars and a throttle lever that functions as a lever for controlling the amount of fuel in the engine. The cable will also have a clutch mechanism at one end, which allows you to stop or start the engine without using your hands.
The throttle cable will usually be made from either steel or nylon. Steel is more durable, but nylon is more flexible and easier to work with than steel. Both materials are sturdy enough to withstand harsh conditions such as mud or snow.
The cable is connected to the carburetor or fuel tank. It ultimately controls how much fuel is delivered to the engine, which can cause problems if it’s not adjusted correctly. It helps the throttle control the speed of the vehicle, allowing for smooth acceleration and braking.
The throttle cable for a dirt bike or ATV needs to be replaced when it becomes worn out or damaged because it will no longer function properly. One can be purchased online or at your local auto parts store. It should cost around $25 – $35, depending on where you buy it.
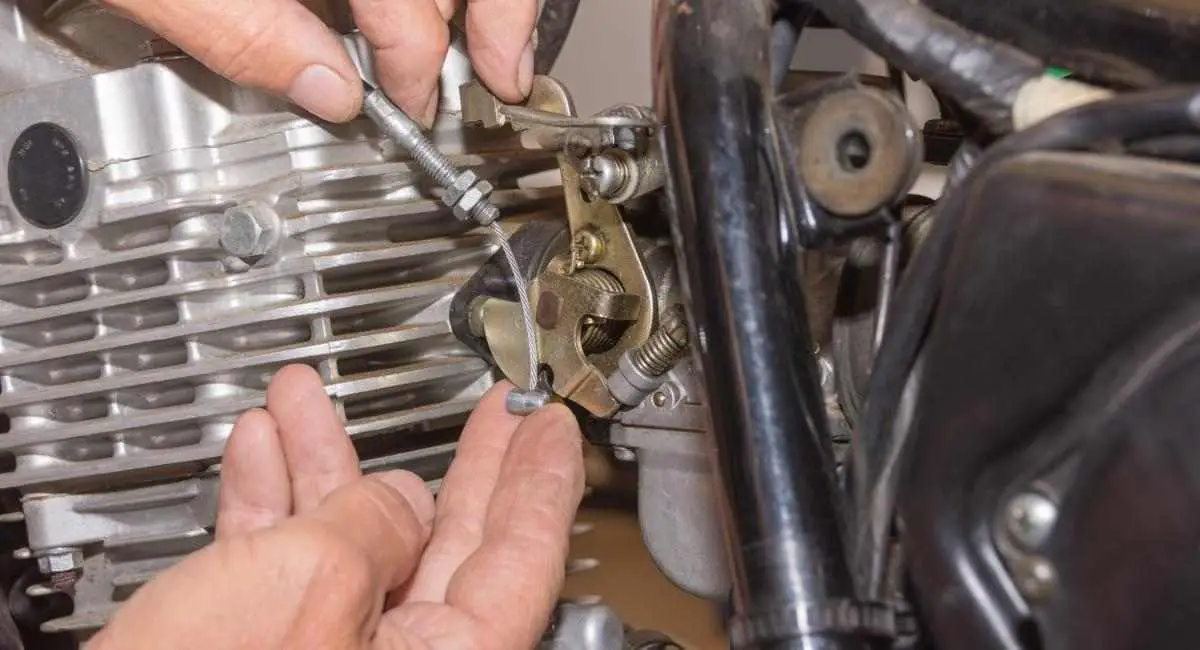
What is a Carburetor
A carburetor is a device that controls the amount of fuel, or air, that enters your engine. The carburetor is usually located on the bottom of your engine and can be found near the intake manifold.
The carburetor has four main parts: a throttle body, float bowl, main jet and needle. These parts work together to allow you to adjust how much fuel goes into your engine.
Carburetors are the main component of an internal combustion engine. They convert gasoline vapors into a mixture of air and fuel that can be burnt in the engine’s combustion chamber.
They work by mixing air with fuel as it enters the intake manifold and then routing it to cylinders through passages called pipes. The mixture is mixed so that when fuel is sent through a small hole in the side of each pipe, there’s enough air mixed with it to burn properly.
Reasons to Remove the Throttle Cable in ATV Carb
You should remove the throttle cable in your ATV carb for several reasons. Here are a few:
- The throttle cable is prone to breaking, and you want to avoid having it break at an inopportune time.
- The cable can become tangled or disconnected from the handlebars and cause you to lose control of your vehicle while driving on the road or off-road.
- When you damage the carburetor, engine or other parts of your ATV, which may be costly to repair.
- If you have a throttle cable issue, you will need to replace it.
- Another reason to remove the throttle cable in an ATV carb is that it can cause engine problems. If there is too much slack in the cable, then it may cause your engine to stall or backfire when you accelerate.
If there isn’t enough slack in the cable, then this could also cause problems with your engine.
What You Need to Remove Throttle Cable from ATV Carb
The following types of equipment are needed for removing the throttle cable from the carburetor:
- The first thing you need is a throttle cable removal tool. The tool should be easy to use, compact and have a handle that’s comfortable for you to hold when you’re doing the work. You can get one of these tools at any auto parts store or online.
- You also need an air compressor with a pressure gauge and needle valve to connect the compressor to your ATV carburetor.
- A large pair of pliers will also come in handy because it will help you turn the throttle cable bracket screws that are holding it on tight. These are usually located under a rubber cap that covers them up and makes them hard to see when installed on your ATV carburetor.
- A can of WD-40 also comes in handy because it helps remove any rust or corrosion that might be present on your throttle cable bracket screws so that they will loosen up easily.
- A Phillips screwdriver for removing the screws that hold on the carburetor.
- A cable cutter.
- A socket wrench to remove the carburetor body.
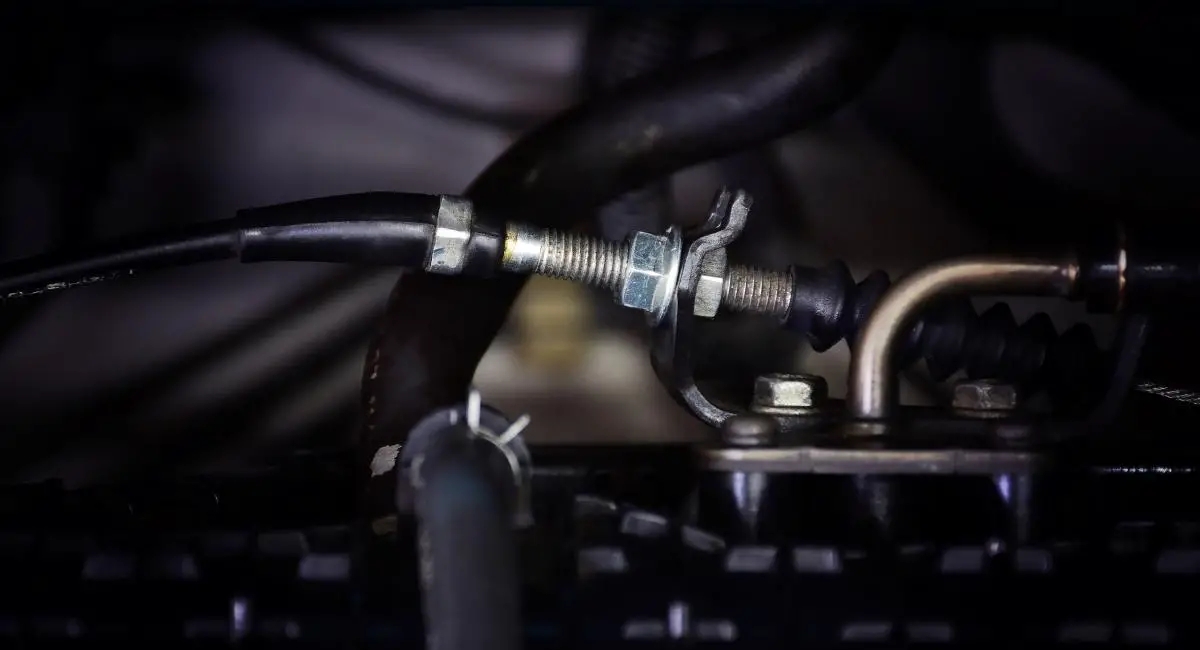
Step By Step Guide to Remove Throttle Cable from ATV Carb
So, are you wondering how to disconnect a throttle cable from carburetor or even how to remove a choke cable from Yamaha carburetor? This is the process you should follow.
Step 1# Preparations
- Turn off the ATV and remove the key from the ignition.
- Remove the seat and place it in a safe location.
- Disconnect the battery from the vehicle and let it sit for at least 15 minutes before starting any work on the ATV. This will prevent any corrosion from taking place inside the battery terminals or battery compartments.
- Remove the air filter cover.
- Disconnect the air cleaner box hose from the throttle body.
- Remove the air cleaner. The throttle cable is attached to the carburetor with a screw and lock nut.
Step 2#
To remove the throttle cable from the carburetor, you will need to remove the fuel filter. To do this, simply turn your ATV upside down and remove it by hand.
You should be able to see two small screws holding the fuel line to the carburetor in place. Remove these with a small flathead screwdriver and pull out your fuel line while you’re at it.
Step 3#
Remove the carburetor cover by removing the two screws in a horizontal pattern. The screws are located near the handlebars, beneath a rubber guard that protects them from damage. Remove the rubber guard, and it will expose the screws.
Remove the carburetor cover with a screwdriver or similar tool, using care not to damage it.
Step 4#
Lift off the carburetor cover and disconnect cables to remove it from your ATV carb. Once you have removed it, you should be able to see where the throttle cable is attached to your carburetor by looking at your carburetor body or one of its sides.
Step 5#
Remove both throttle cables from their brackets located on either side of the carburetor. Remove them completely from their mounts on either side of the engine block using a screwdriver or other similar device. You remove them by pushing them out slightly until they break free of their mounts. Pull them out by hand, so they do not get damaged during this process.
Unscrew the screw on the throttle cable. You will see a small metal plate holding the throttle cable. Using a flathead screwdriver, pry out the metal plate with your fingers.
Step 6#
Clean all parts thoroughly with an appropriate solvent (such as brake fluid) before installing new throttle cables back onto their original mounting points.
Install your new cable on the same mounting point as the old one and ensure both ends are secure before reassembling your ATV carburetor cover.
Tips to Remove Throttle Cable from ATV Carburetor
- Grab the throttle cable with a pair of nose pliers and pull it away from the carburetor.
- Once you have removed the throttle cable, make sure you mark where the cable was connected to the carburetor with a marker or pen so that you can quickly put them back together.
- Next, remove any dirt and debris that may have accumulated on your ATV’s throttle cable by using a wire brush or something similar to scrape off any unwanted material from its surface.
- To ensure that you do not damage your ATV’s throttle cable during removal, try wrapping it in electrical tape before removing it from your ATV’s carburetor (especially if it has been severely corroded).
- Once you are done removing your ATV’s throttle cable from its carburetor, place it into a plastic bag so that it will not get damaged while being transported back home (as long as no part of it is exposed).
- To remove the cable for any carburetor style, unscrew the locknut on top of the throttle slide with a wrench and pull upwards until it comes free.
Once free, you can then disconnect it from the carburetor. If your ATV has a cable that needs to be replaced, you’ll need some replacement parts from your local dealer or parts store.
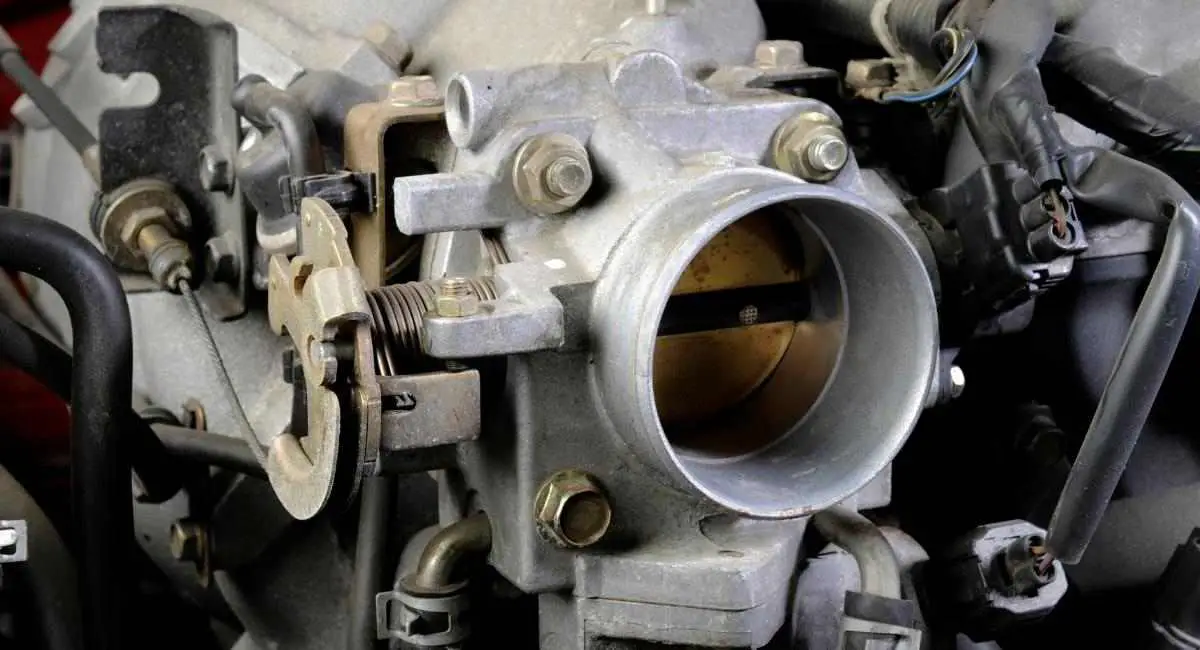
Final Word
Removing a throttle cable is not easy for someone who has never done it before. We hope this has been a great tutorial guide to help you do the ATV carb removal procedure efficiently. By following these basic steps, you can easily remove the throttle cable from ATV carb.
Also Read: ATV vs UTV vs RTV- Differences and Similarities
Ensure you always check the carb throttle cable before you ride. Don’t go on a ride without checking your ATV throttle cable. This is because if the cable is damaged or worn out, you could also damage the carburetor. If this happens, the carb will flood and run rich.
If you fix the carb throttle cable before you go on a ride, it’ll stay good and last for a long time. All the best in your fix.

