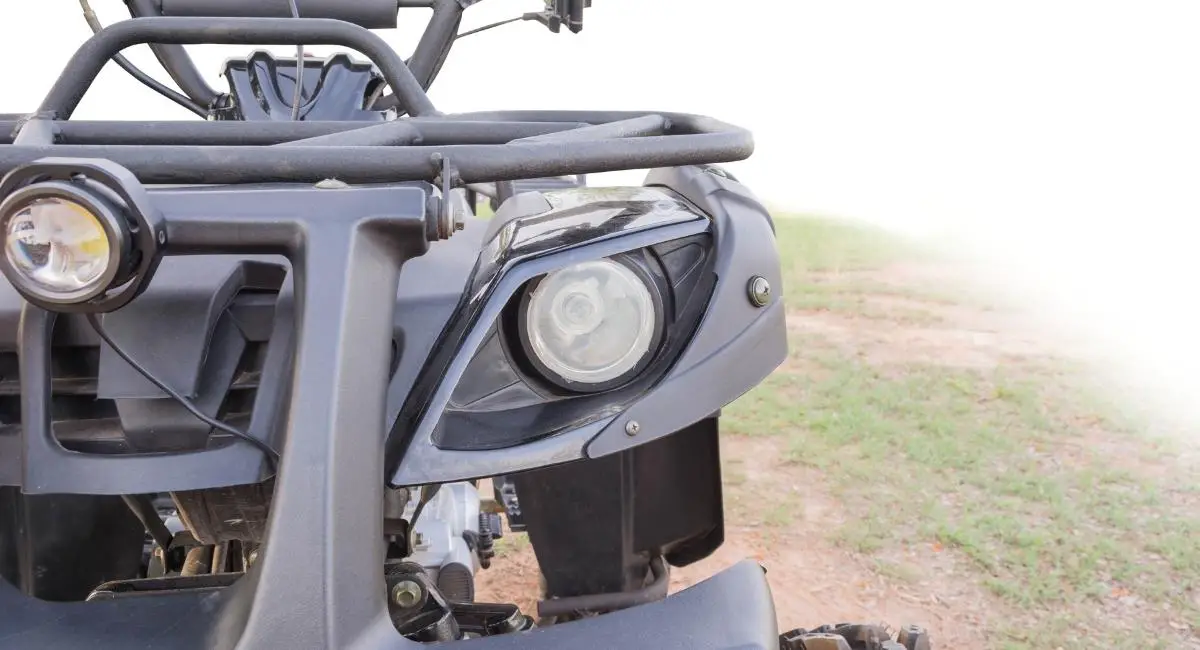
A kill switch is a critical component of any ATV as well as utility vehicles. This safety feature is especially helpful during emergencies or when your kid is out riding the ATV. Ideally, the kill switch, just as the name suggests, helps to kill the engine during emergencies, thereby bringing your vehicle to a stop.
Now, in case of a potentially threatening situation, the kill switch swings into action to help minimize the risk of damage to your ATV and possibly save some lives. It also comes in handy in situations that prompt you to shut off your ATV abruptly. For these reasons and more, it is easy to see why you’ll need to keep your kill switch fully operational.
Ideally, the kill switch is often considered to be one of the last resorts whenever your engine fails. As such, the switch is a must-have feature whether you are off-roading or one of those people who enjoy riding at high speeds. The best thing is that it is incredibly convenient and easy to use, plus you can also access full information on the provided user manual.
Installing ATV Kill Switch
The kill switch is hooked up to the ignition system, which is responsible for sending the signal to the engine to ignite. For easy access, the kill switch needs to be installed next to the ignition switch, but if you’re doing a custom installation, you can install it anywhere you deem fit.
However, you may also want to ensure that you install the kill switch in a place where it does not get in the way of normal ATV operation. Once you’ve identified the ideal spot for the kill switch, you’ll need to tighten the screws properly using a wrench to ensure that the switch does not become loose during aggressive driving.
Always ensure to consult the ATV kill switch wiring diagram from the user manual of your particular ATV to help you wire the kill switch correctly. Once you’ve installed the switch, you can go ahead and test it while the ATV engine is running to ensure that it will operate optimally whenever needed.

How to Bypass Kill Switch on ATV
Riding your ATV can be one of the most exhilarating experiences, but sometimes it can get as disappointing as it is terrific. If the kill switch suddenly starts malfunctioning or killing the engine while riding, then you’ll need to learn how to disable the kill switch. The situation can even get worse when the kill switch interferes with the normal starting of your engine.
It is important to note that kill switches are available in different forms, such as pulls, remote control, push buttons, etc. As such, disabling the kill switch will vary from one ATV to another, but the working principle is basically similar.
Luckily, kill switches are not prone to many problems, and the good thing is that they are easy to diagnose and fix. To find a lasting solution, you may want to troubleshoot your kill switch to get to the possible root cause of the problem. Typical symptoms of a malfunctioning kill switch include;
- Engine failing to start
- Inability to kill the engine when needed
- Intermittent/ irregular starting
- Backfiring
- Stalling of the engine, especially when taking on rough terrains
These symptoms may vary depending on your ATV model or the type of switch you’re using. For instance, a defective switch may cause your engine to fail to run, while in another one, it might make the ATV fail to shut off.
Now, considering that different manufacturers use different wiring systems, there may be no definite way you can use to bypass an ATV kill switch. For instance, Honda ATV switches will employ their own unique troubleshooting tips that may be totally different from someone in a pickle and need to learn on how to bypass kill switch on Chinese ATV.
So if you’re in a situation that requires you to bypass your kill switch, it is always a good idea to factor in the model and year of your ATV before attempting anything. That said, here are a few pointers that can help you find a quick solution.

Basics Steps for bypassing kill switch on ATV
- In order to bypass the ATV kill switch, you’ll first need to disconnect the wires that join the switch to the ATV. A typical kill switch will feature two wires i.e., the one that connects the switch to the ignition coil and the earth wire. For instance, to bypass kill switch on Honda ATV, you’ll simply need to disconnect the white and black wire, and you’re good to go.
- Using a new set of wires try to reconnect the switch and observe how it behaves. If the switch works when the motor starts, then you can be sure that the existing connecting wires were defective.
- If the switch does not work even after replacing the wires, then you can be sure that the problem is rooted in the kill switch and needs to be replaced as soon as possible.
- At this point, you can use a multimeter to check the resistance level on either end of the ATV kill switch. Ideally, the meter should change whenever the switch is switched from run to kill mode. However, if you get an OL reading, then it means that the switch is possibly shorted, so you’ll need to get a replacement.
- Alternatively, you can use a remote starter, which is specially designed to allow you to reset different electronic components in your ATV, including the kill switch and the engine. The only downside of using the remote starter is that it does not isolate the specific issue.
- You may also want to inspect other components, such as your battery connections. If the wires are not connected properly, they might interfere with the normal operation of the kill switch or make it fail altogether.
Summing Up
Hopeful, the above guide has made it easy to bypass the kill switch on your ATV hassle-free. The most common kill switch problems are often associated with loose wiring and typical electrical problems. Remember, most ATVs kill switches are universal, so finding a replacement for your ATV should not be much of a hassle.
However, you may want to be a bit more careful when doing the wiring. Besides, fixing some of these electrical issues can be quite technical and time-consuming. As such, it is always a good idea to call for professional help before you mess around with the entire engine system.


